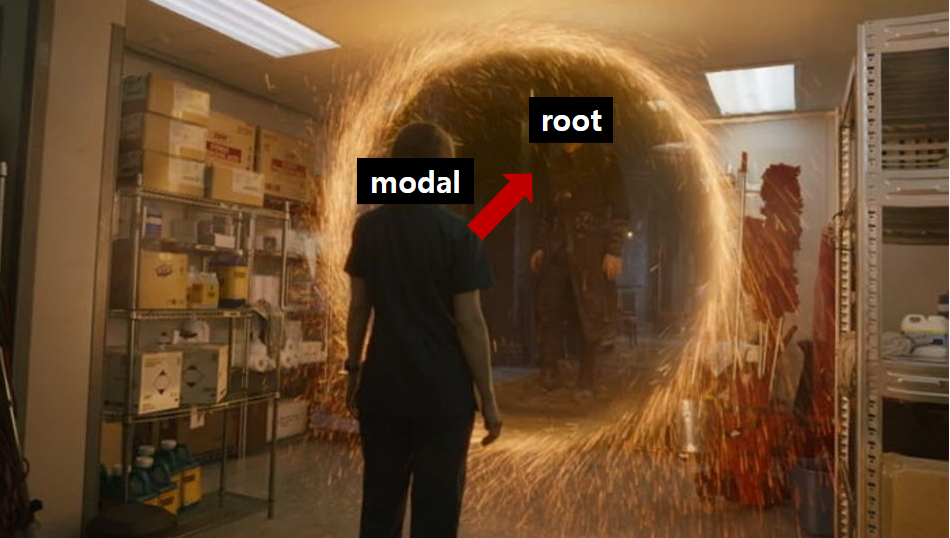
한국인에게 portal이란.. 닥터스트레인지의 마법진같은 포탈만 떠오를 수 있다.
이미 충분히 익숙한 다른 곳으로 이동시킨다는 개념을 이어받아,
컴포넌트를 부모 컴포넌트의 바깥에 렌더링해주는 신기한 portal을 알아보자.
Portal이란?
React 공식 문서에 따르면, Portal은
부모 컴포넌트의 DOM 계층 구조 바깥에 있는 DOM 노드로 자식을 렌더링하는 최고의 방법이다.
위 설명이 쉽게 이해가지 않는다면, 아래를 보자.
현재 <div id="root">와 <div id="modal"> 은 형제 관계처럼 보이지만 실제로 modal은 root 안에서 보여지는 자식 컴포넌트이고,
렌더링만 root의 바깥에서 이루어지고 있다.

왜 사용할까?

일반적으로 react는 부모 컴포넌트가 렌더링되면 자식 컴포넌트가 렌더링되는 tree 구조를 가지고 있다.
하지만 때때로 이런 tree구조가 불편함을 가져다주기도 해서,
이럴 때 부모-자식 관계를 유지하지만 독립적인 위치에서 렌더링을 하면 훨씬 편리한 경우가 있다.
대표적인 예로 modal은 부모 컴포넌트의 스타일링 속성에 제약을 받아 z-index 등으로 번거로운 후처리를 해줘야한다.
이러한 상황에서 portal을 통해 독립적인 구조와 부모-자식 관계를 동시에 유지할 수 있다면, z-index 등 부모 컴포넌트의 제약에서 벗어날 수 있다.
구현 방법
portal을 통해 modal을 구현하는 방법을 알아보자.
불필요한 코드는 생략하며 정리해두었다.
01 : public/index.html에 Modal이 렌더링 될 위치 심어주기
  <body>
    <div id="root"></div>
    <div id="modal"></div>
  </body>
portal을 구현할 tree의 부모 컴포넌트를 어디로 설정할지 정하는 것.
위 코드에선 기존 최상단 요소인 root의 형제관계로 modal 요소를 넣었다.
이 요소에서 modal 컴포넌트가 렌더링되도록 만들 예정!
02 : Portal.js 만들기
//Portal.js

import reactDom from "react-dom";

const ModalPortal = ({ children }) => {
  const el = document.getElementById("modal");
  return reactDom.createPortal(children, el);
};

export default ModalPortal;
modal div를 가져와 children으로 넣어주는, Portal역할을 할 Portal.js를 만들어준다.
03 : Modal.js 만들기
//Modal.js

import React from "react";
import styled from "styled-components";

const Modal = ({ onClose}) => {

  return (
      <Background>
        <Content>
  //  ... modal 안의 contents 코드 ...
         </ Content>
      </Background>
  );
};

export default Modal;

//아래는 styled-components를 통한 스타일링

const Background = styled.div`
  height: 100%;
  width: 100%;
  display: flex;
  align-items: center;
  justify-content: center;
  position: fixed;
  left: 0;
  top: 0;
  text-align: center;
`;

const Content = styled.div`
  height: 100%;
  width: 950px;
  margin-top: 70px;
  position: relative;
  overflow: scroll;
  background: #141414;
`;
렌더링시켜줄 modal.js 를 만들어준다.
이 때 <Background>는 실제 modal의 뒷배경 부분이라고 생각하면 되고,
실제 우리가 생각하는 튀어나오는 modal은 <Content> 라고 생각하면 된다.
04 : Modal을 띄울 컴포넌트에 Portal, Modal 조건부 렌더링
//modal을 띄우려는 컴포넌트 파일

import styled from "styled-components";
import ModalPortal from "../Components/Modal/Portal";
import Modal from "./Modal/Modal";

const Carousel = props => {
  const [modalOn, setModalOn] = useState(false);

  const handleModal = () => {
    setModalOn(!modalOn);
  };

  return (
    <>
      <Container>
    	<button onClick={handleModal}/>
		// ... 코드 생략 ...
        <ModalPortal>
          {modalOn && <Modal onClose={handleModal} />}
        </ModalPortal>
      </Container>
    </>
  );
};

export default Carousel;
modal을 렌더링하고자 하는 컴포넌트 파일에서 Portal에 감싸진 형태로 modal을 넣어준다!
물론 계속 떠있으면 그건 진정한 modal이 아니기에 modalOn이라는 state를 만들어주고 (기본값 : false),
이 state가 true일 때 modal이 렌더링되도록 조건을 걸어준다.
modalOn을 변경해주는 함수 handleModal을 만들고, button에 onClick함수로 걸어주면
button이 클릭될 때마다 modal이 뿅하고 나타나게 된다.
📌 참고 학습 자료
React 공식 문서 - Portals
Understanding React Portals and Its Use-Cases - blog.bitsrc.io
Portal - yunsuu.github.io
본 글은 2021년 10월 4일 개인 블로그(velog)에 작성된 글입니다.
'React' 카테고리의 다른 글
| MobX | 주요 개념 알아보기 (0) | 2022.04.09 |
|---|---|
| 자주 활용하는 React 초기 세팅 (w. TS, Sass, styled-components , eslint, prettier) (0) | 2021.11.30 |
| React | Styled Components (0) | 2021.11.05 |
| React | 로그인 후 token 저장, 서버에 전달하기 (0) | 2021.11.04 |
| React | 회원가입 기능 구현하기 (0) | 2021.11.04 |


